Protective styling can transform your look, but the price tag often stops you cold. Over 80% of people who wear protective styles cite installation costs as their biggest barrier to achieving the look they want. The salon appointments alone can drain your budget, not to mention the time commitment required. What if you could sidestep those expenses entirely and still achieve results that rival professional work?
Eayon Wet & Wavy Human Hair Crochet Extensions exist specifically for this moment. They're engineered for DIY installation, allowing you to transform your hair at home, save hundreds of dollars, and achieve salon-quality results without stepping foot in a salon. These 100% virgin human hair extensions come pre-segmented for quick attachment with wet & wavy texture that adds natural movement and versatility to every style you create.
This guide walks you through everything needed to install these extensions yourself. From gathering the right tools and materials through detailed installation steps, pro tips, and maintenance strategies that keep your investment looking fresh for weeks, you'll have the complete roadmap to success. Explore Eayon Wet & Wavy Human Hair Crochet Extensions and start your DIY journey today.
What You Need Before You Start: Tools and Materials for Crochet Installation
Essential tools for the job
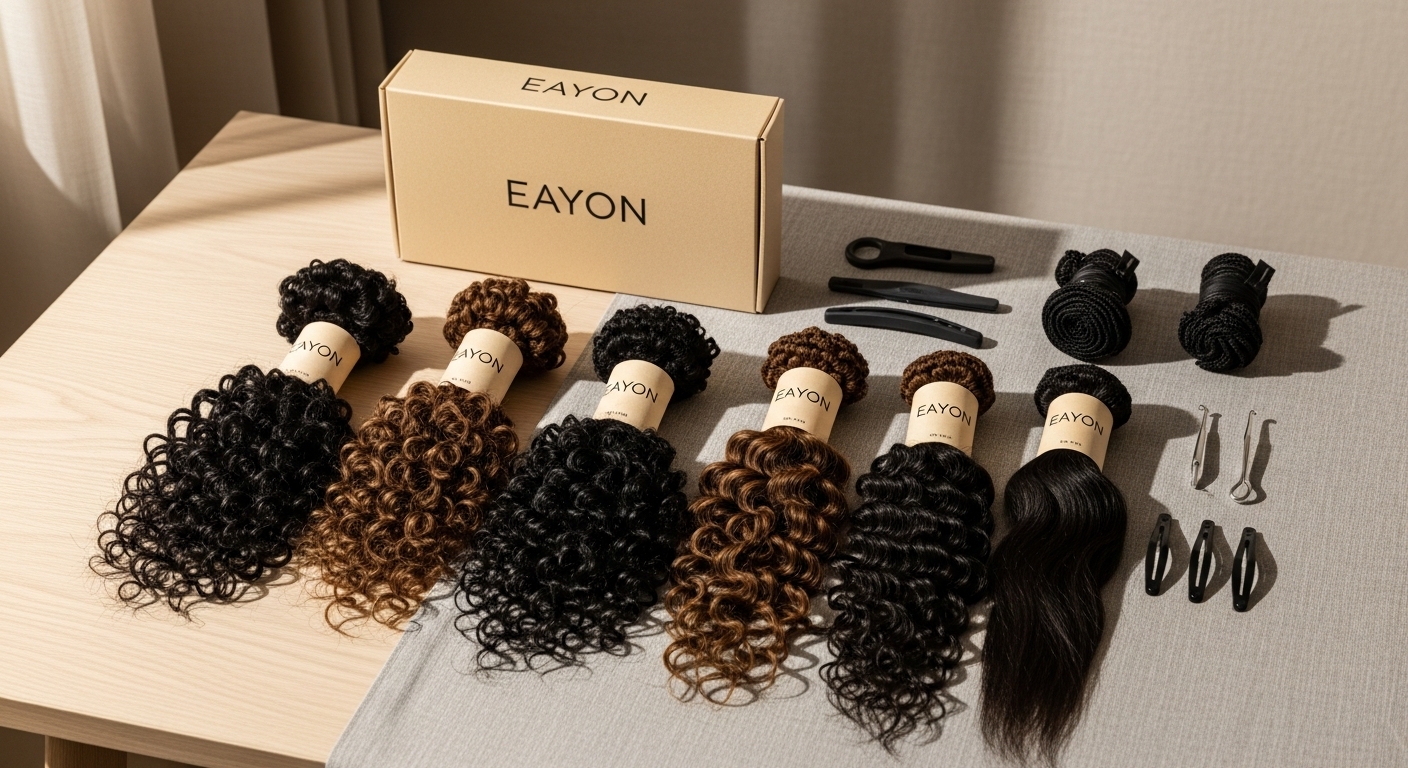
Your installation won't move forward without the right equipment. Start with a crochet hook—most quality brands like Eayon include this in their packages. You'll also need hair clips or duck clips to section off areas while you work, preventing tangled chaos mid-installation. A rat-tail comb helps separate braids and ensure smooth placement, while sharp scissors handle trimming and blending. Never skimp on scissors quality; dull blades create frayed edges that look unprofessional.
Building your protective base
The foundation determines everything. You have two primary options: cornrows or latch-hook braiding hair. Cornrows offer a classic, secure base that distributes weight evenly across your scalp. Latch-hook braiding hair creates a thicker foundation that some people find more comfortable for extended wear. Whichever method you choose, this base cradles your extensions and keeps them secure throughout the weeks ahead.
Preparation and protection products
Edge control, moisturizing cream, or leave-in conditioner smooths your natural hair before braiding and keeps everything lying flat. These products reduce friction between your braids and extensions, minimizing damage to your edges. Keep a mirror positioned where you can see the back of your head comfortably—installation becomes infinitely easier with proper visibility. For nighttime protection and to preserve your style between washes, gather a pineapple pin or silk scarf. A blow dryer will activate your curl pattern after installation, revealing the true potential of your wet & wavy texture.
Calculating your quantity needs
Most people need 2-3 packs of Eayon extensions for full coverage, depending on your desired fullness and hair density. Don't guess on this—measure your natural hair length and thickness first. Ordering too few means gaps in coverage; ordering too many wastes money. Check the product specifications for weight and length to determine your ideal number of packs.
Get everything you need to start your installation with Eayon's complete extension collection.
Preparing Your Natural Hair: The Foundation for Success
Cleansing and conditioning thoroughly
Begin with clean, moisturized natural hair. Wash with a clarifying shampoo to remove product buildup, then deep condition generously. Your braiding base should feel soft and manageable, not dry or brittle. Extensions sit on this foundation for weeks, so scalp health matters tremendously. Take time with this step—rushing it now means suffering later.
Choosing your braiding base method
Cornrows work beautifully for most hair textures and head shapes. They distribute weight evenly and feel comfortable during extended wear. To create cornrows, section your hair into 5-8 rows depending on coverage goals, then braid tightly enough for security but not so tight that your scalp feels strained. Latch-hook braiding hair offers an alternative if you prefer extra thickness or have fine natural hair. This method involves braiding hair extensions directly into your natural hair, creating a sturdier base for crochet attachment.
Strategic sectioning
Map out your installation before picking up the crochet hook. Divide your head into manageable zones—typically front, crown, and back sections work well. This systematic approach prevents you from missing spots or creating uneven density. Mark each section lightly with clips so you know exactly where you're working.
Tension and scalp protection
Tight braids hold extensions securely, but excessive tension causes hairline damage and scalp soreness. Aim for a tautness that feels firm without causing discomfort. Leave enough slack at your edges that you can comfortably fit a finger between the braid and your scalp. Apply edge control or moisturizing cream along your hairline before braiding to protect this delicate area during the weeks ahead.
Timeline and preparation
Ideally, prep your hair 1-2 days before installation. This allows your scalp to settle and any mild irritation to subside. You'll feel more comfortable installing extensions on a settled scalp rather than one still reacting to the braiding process.
Step-by-Step Installation Process for Eayon Wet & Wavy Extensions
Unboxing and inspection
When your Eayon extensions arrive, inspect them immediately. Check that you received the correct number of packs and that the hair feels soft and looks healthy. Eayon's 100% virgin human hair should feel luxurious right out of the box, with minimal shedding and a natural wave pattern already visible. If anything seems off, contact customer service before installation.
Threading and securing technique
Hold your crochet hook at a comfortable angle and thread it through your braids from underneath. The hook catches the loop at the base of each pre-segmented extension. Pull the extension through the braid with controlled tension—not so loose that it falls out, not so tight that you strain your braid. This balance takes practice, but becomes intuitive quickly.
Working systematically
Move from bottom to top or front to back, depending on your preference. Consistency matters more than direction. Skipping around creates confusion and increases chances of missing areas. Complete one section fully before moving to the next.
Density and placement adjustment
As you progress, step back occasionally and check your work in the mirror. Does the coverage look even? Are there gaps between segments? Adjust placement now rather than after completing the full installation. Some people prefer extensions closer together for a fuller appearance; others prefer spacing that shows more of the braiding base.
Double-knotting for maximum security
After threading each extension through, tie a secure knot. For maximum longevity, some stylists recommend double-knotting—tying twice to ensure the extension won't slip. This adds time but significantly increases how long your installation stays perfect. Trim any excess thread after knotting so nothing dangles.
Trimming and blending edges
Once all extensions are secured, trim them to your desired length and shape. Blend your natural hair with the extensions so the transition looks seamless. Some people prefer blunt ends; others like tapered, feathered edges. Your choice here dramatically impacts the final aesthetic.
Time expectations
Your first installation might take 4-6 hours. This isn't unusual—you're learning, problem-solving, and moving carefully. By your second or third installation, you'll likely complete the process in 2-3 hours as muscle memory develops and your technique becomes more efficient.
Styling Your Freshly Installed Extensions: Unlocking Versatility
Activating the wet & wavy curl pattern
The magic of Eayon's wet & wavy texture reveals itself when you add moisture. Spray your extensions with water or apply a curl-defining cream. The loose waves transform into more defined "water wave" curls as they dry. This transformation happens within hours, giving you dramatically different styling options from the same installation.
Achieving defined water wave curls
For tighter, more structured curls, apply a moisturizing curl cream while your hair is wet and allow it to air dry or use a diffuser on low heat. Product choice matters—lightweight formulas work better than heavy creams that weigh down the waves. Experiment with different products to find what activates your curl pattern best.
Straightening for sleek styles
Despite their wavy nature, these extensions straighten beautifully with a flat iron. Use a heat protectant spray first, then pass the iron through small sections at medium heat. Your extensions can handle heat styling, but protecting them extends their lifespan significantly. Straightened, they transform into sleek ponytails or flowing straight styles that look completely different from the wavy version.
Creating custom waves and curls
A curling iron lets you create custom wave patterns. Wrap sections around the barrel, hold for a few seconds, and release. Combine this technique with your natural wet & wavy texture to create complex, dimensional styling that turns heads. The versatility is genuinely impressive—you're not locked into one look.
Blending your natural hair
Your natural hair forms the top layer of your hairstyle. Style it the same way you style the extensions so everything flows cohesively. Blow dry or wave your natural hair to match the texture of your extensions for a seamless blend.
Day-one versus evolved styling
Fresh from installation, your extensions look absolutely flawless. Over the next week or two, the curl pattern relaxes slightly and settles into its natural state. This isn't deterioration—it's evolution. Most people actually prefer how their hair looks after this settling period because it feels more natural and moves more freely. Embrace this change rather than fighting it.
Color customization
Want to dye or highlight your extensions? You can. These are 100% human hair, so they take color like your natural hair does. Consult a professional colorist if you're unsure about the process. Some people add highlights or lowlights after installation to increase dimensionality.
Maintenance Secrets That Keep Your Extensions Looking Fresh
Washing and cleansing methods
Wash your extensions every 7-10 days, or more frequently if you exercise regularly. Use sulfate-free shampoo and lukewarm water. Avoid hot water, which opens the hair cuticle and can cause frizz. Cleanse gently by running shampoo through your hair with your fingers rather than rubbing vigorously. Rinse thoroughly with cool water at the end to seal the cuticle and add shine.
Conditioning treatments
Condition every wash, focusing on the mid-lengths and ends. Your extensions lack the natural oils your scalp produces, so they need external moisture. Deep condition weekly with a intensive treatment that you leave on for 15-20 minutes. This combats frizz, maintains softness, and preserves the natural movement of your wet & wavy texture.
Managing frizz
Frizz around the crown area is common, especially after washing and daily wear. Prevent it by sleeping on a silk or satin pillowcase, which reduces friction that causes frizz. Use the pineapple method—gather your hair loosely on top of your head before bed and secure it with a silk or satin scarf. This protects your curls while you sleep and keeps them looking fresh longer.
Refreshing your curl pattern
Between washes, spray your extensions with water and a lightweight leave-in conditioner. Scrunch gently while they dry to reactivate the wave pattern. This simple refresh takes minutes and keeps your curls looking bouncy and fresh without requiring a full wash.
Avoiding common mistakes
Don't use heavy products that weigh down your extensions or sulfate-containing shampoos that strip moisture. Don't sleep without protection—friction destroys curl patterns and causes frizz. Don't use a regular brush on your wet & wavy texture; instead, use your fingers or a wide-tooth comb to detangle when wet.
Expected lifespan
With proper care, your Eayon Wet & Wavy extensions typically stay wearable and beautiful for 4-8 weeks. Some people stretch this to longer by being meticulous about maintenance, while others find they want to refresh their look sooner. The timeline depends on your maintenance consistency, how active you are, and how often you style with heat.
Your DIY Installation Journey Starts Now
Installing Eayon Wet & Wavy Human Hair Crochet Extensions at home is genuinely empowering and achievable. You now have the complete roadmap: from gathering the right tools and prepping your natural hair, through the actual installation process, to styling and maintaining your extensions for maximum longevity. The pre-segmented design, 100% virgin human hair quality, and straightforward installation methods mean you're not sacrificing professional results when choosing the DIY route.
Your first installation may take longer than expected, but by your second or third time, you'll move through the process with confidence and speed. Start with realistic expectations, invest in quality tools, and don't hesitate to revisit troubleshooting if needed. Ready to transform your look from home? Grab your Eayon Wet & Wavy extensions today, set aside a few hours, and prepare to be amazed at what you can accomplish.
Leave a Reply