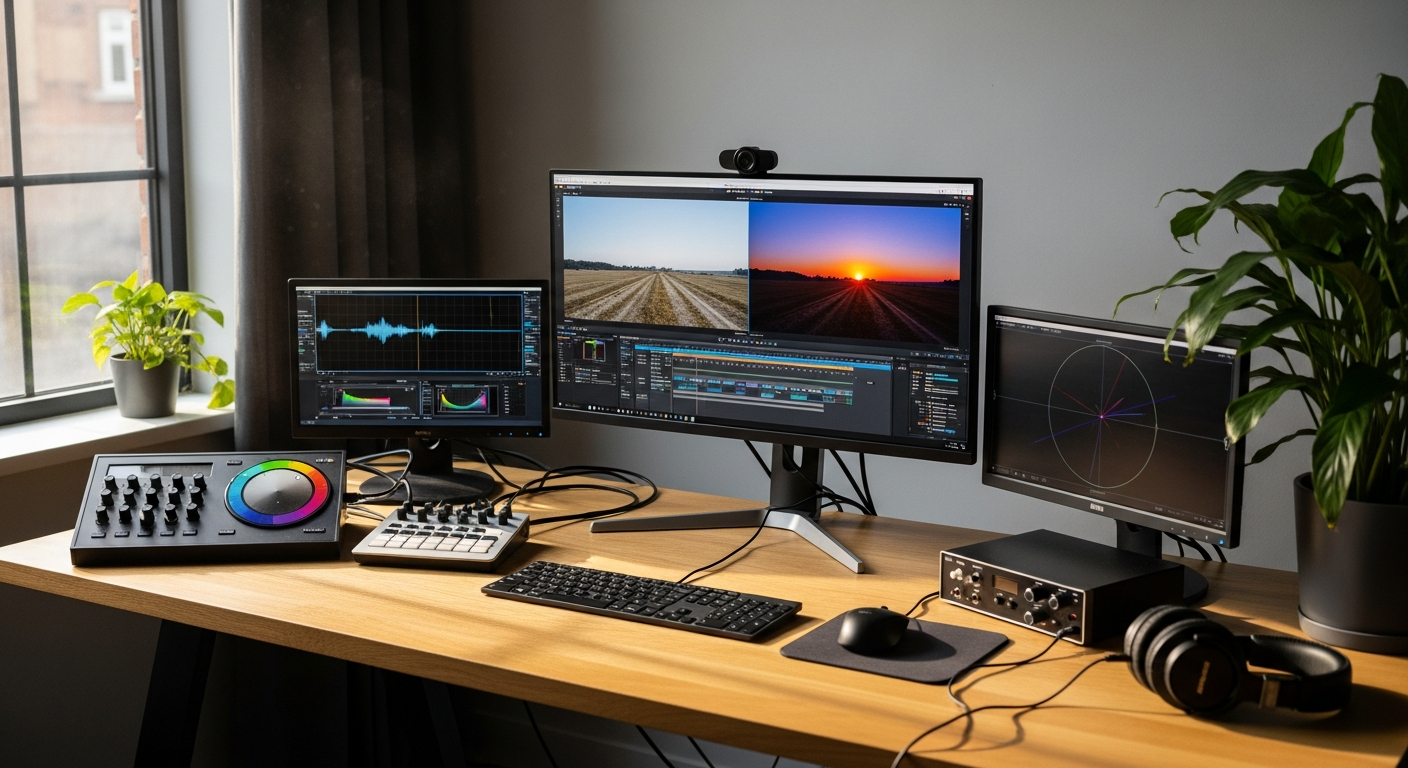
Professional color grading used to be the gatekeeping skill that separated amateur creators from seasoned filmmakers—but that's changed dramatically. Today, a single cinematic video LUT can replicate the exact visual signature of Hollywood productions in mere seconds, transforming flat, uninspiring footage into something genuinely stunning.
Cinematic video LUTs have become the secret weapon for editors and content creators across every platform imaginable. Whether you're grading footage in Final Cut Pro, Adobe Premiere Pro, DaVinci Resolve, or CapCut, these digital color profiles instantly apply professional-grade aesthetics without requiring years of color theory knowledge. The democratization of high-end color grading has fundamentally shifted what's achievable for creators operating on tight timelines and limited resources.
Explore cinematic video LUTs and elevate your color grading today.
What Makes Cinematic Video LUTs the Game-Changer for Modern Editors
How LUTs instantly apply professional color grading to any footage
Cinematic LUTs function as digital blueprints for color transformation. When you apply a LUT to your footage, you're essentially importing a pre-calculated color mapping that shifts pixels across the color spectrum simultaneously. This happens in real time, across your entire clip, without requiring manual adjustment of curves, levels, or saturation sliders. The result is instantaneous visual cohesion—your raw footage suddenly adopts a unified aesthetic that would typically demand hours of meticulous color correction work.
The difference between LUTs and manual color correction workflows
Manual color correction is granular and time-intensive. You adjust highlights separately from midtones, tweak individual color channels, and make micro-decisions about contrast and saturation. This approach offers complete creative control but demands technical knowledge and significant time investment. LUTs skip this laborious process by bundling proven color transformations into single, reusable files. Rather than building a color grade from scratch, you're applying a finishing touch that you can then refine according to your specific needs.
Why editors at every skill level benefit from LUT technology
Beginner editors gain immediate access to professional aesthetics. Intermediate creators save precious production time while maintaining quality standards. Seasoned colorists use LUTs as starting points, building upon them to achieve bespoke looks that align with their creative vision. This accessibility spans the entire skill spectrum because LUTs function as both shortcut and foundation, depending on how you approach them.
The dramatic visual impact LUTs deliver to vlogs, short films, commercials, and social media content
Whether you're producing YouTube vlogs, indie short films, branded commercials, or TikTok content, a well-chosen cinematic LUT transforms the perceived production value instantly. Flat smartphone footage becomes visually compelling. Standard camera profiles develop distinctive character. Social media content stands out in crowded feeds through cohesive, intentional color grading. This visual elevation extends across every content category and platform.
Software Compatibility and Integration: Which Editing Platforms Support Cinematic LUTs
Full compatibility with Adobe Premiere Pro and seamless integration workflows
Adobe Premiere Pro users have seamless access to LUT implementation through the Lumetri Color panel. Simply import your .cube files into Premiere's LUT directory, and they appear immediately in your adjustment options. Application requires minimal effort—drag a LUT onto your clip, and the color transformation applies instantly. Adjustment layers and nested sequences further expand your creative flexibility, enabling you to layer multiple LUTs or blend their intensities.
Final Cut Pro LUT implementation and native support features
Final Cut Pro supports LUTs natively through its Color Board and Color Curves interfaces. Import .cube files into your library, and they integrate directly into your color grading workflow. The platform's modern architecture ensures smooth performance across 4K and higher resolution timelines. Adjustment clips allow you to apply LUTs across multiple clips simultaneously, streamlining batch processing for longer projects.
DaVinci Resolve color grading with .cube file format optimization
DaVinci Resolve stands as one of the most powerful color grading environments available, and its LUT support is equally robust. The software accepts industry-standard .cube files and integrates them into its professional-grade color pipeline. Resolve's node-based system permits unlimited LUT stacking and modification, enabling sophisticated color workflows that combine multiple LUTs with manual adjustments.
CapCut LUT application for mobile and desktop editing
CapCut democratizes LUT access for mobile creators and desktop users alike. The platform supports LUT import for both iOS and Android editing, plus desktop versions. While CapCut's color grading tools are less comprehensive than professional suites, their LUT functionality remains straightforward and effective for creators prioritizing speed and accessibility over granular control.
Understanding LUT Packs: Styles, Variety, and Creative Range
Vibrant and punchy LUT profiles for energetic, upbeat content
Vibrant LUTs amplify saturation and contrast while maintaining color accuracy. They're ideal for energetic vlogs, music videos, lifestyle content, and any project demanding visual dynamism. These profiles brighten shadows, pop highlights, and intensify mid-tone colors without oversaturation that appears artificial. Content shot under flat lighting conditions especially benefits from vibrant LUT treatment.
Moody and desaturated cinematic LUTs for dramatic storytelling
Moody LUTs reduce overall saturation while preserving selective color information, creating atmospheric, contemplative aesthetics. They're essential for dramatic narratives, introspective documentaries, and emotionally complex storytelling. These profiles often emphasize cool tones or specific color channels, building visual tension and psychological depth into your footage.
Warm, vintage-inspired color grading for nostalgic aesthetics
Vintage LUTs introduce warm color shifts, often adding faded blacks or slight color casts that evoke film photography from specific eras. They're perfect for nostalgia-driven content, retro-themed projects, or narrative pieces requiring period-specific visual language. These profiles typically elevate shadows while warming mid-tones, creating characterful, lived-in aesthetics.
Cool-toned, modern LUTs for contemporary branded content
Cool-toned LUTs emphasize blues and teals while slightly desaturating warm colors, creating sleek, contemporary aesthetics. They're ideal for tech companies, modern lifestyle brands, and forward-thinking content requiring visual sophistication. These profiles often include subtle contrast enhancements that read as premium and intentional.
Discover the perfect cinematic LUT pack for your creative project.
Applying Cinematic LUTs: The Technical Process Simplified
Step-by-step import process for different editing software
For Adobe Premiere Pro: Navigate to your Lumetri Color panel, click the adjustment dropdown, locate the LUT section, and import your .cube files. Alternatively, place LUT files directly into Premiere's LUT folder for automatic availability. For Final Cut Pro: Access the Color Inspector, navigate to LUT options, and import your files. For DaVinci Resolve: Use the Color page's LUT node interface to import and apply files. For CapCut: Use the app's built-in LUT library or import custom files through the color grading interface.
One-click LUT application and instant visual transformation
Once imported, LUT application requires minimal interaction. Select your clip, choose your desired LUT from available options, and the transformation applies instantly. Your entire timeline updates in real time, eliminating render-heavy workflows that demand waiting for color adjustments to process.
Adjusting LUT intensity for footage-specific requirements
No LUT perfectly matches every footage variation. Most editing software permits opacity or intensity adjustment of applied LUTs. Reduce a LUT's intensity from 100% to 60-80% if it appears overly aggressive. This subtle modification allows the LUT's character to enhance your footage without overwhelming your original image data or introducing unnatural color shifts.
Stacking multiple LUTs for custom, layered color grading effects
Professional colorists frequently stack multiple LUTs to achieve custom results. Apply a vibrant LUT for color pop, then layer a vintage LUT at reduced opacity for character. This approach combines the strengths of multiple LUT profiles while maintaining creative control. Experimentation with layering order and opacity percentages yields surprising and often superior results compared to single-LUT application.
Building Your Cinematic LUT Library: Curation and Collection Strategy
Identifying your creative signature and matching LUT styles to your aesthetic
Before purchasing numerous LUT packs, identify your creative preferences. Do you gravitate toward moody, desaturated aesthetics or vibrant, punchy color? Warm vintage vibes or cool contemporary looks? Understanding your signature style ensures your LUT collection supports rather than complicates your creative vision. This clarity prevents accumulating dozens of unused profiles that clutter your workflow rather than enhance it.
Starting with versatile, multi-purpose LUTs before specializing
Build your foundation with adaptable LUTs that function across various content types and footage conditions. Versatile profiles accommodate different camera profiles, lighting situations, and subject matter. Once you've established comfort with foundational LUTs, explore specialized collections tailored to specific camera formats, genre requirements, or creative niches.
Evaluating LUT quality and avoiding low-resolution or poorly calibrated profiles
Not all LUTs are created equal. Low-quality profiles may introduce banding, color shifts that feel unnatural, or inadequate color separation. Research seller reputation, examine before-and-after examples, and test LUTs on your actual footage before committing to large purchases. Professional LUT creators provide detailed specifications and demonstrate genuine technical competence in color science.
Creating a personal LUT organization system for quick project access
Organize your LUT library logically—by mood, by camera profile, by content type, or by project. Use clear naming conventions that enable quick identification during active editing sessions. Some editors maintain separate folders for their most-used LUTs versus experimental profiles. Efficient organization directly impacts your workflow efficiency and creative spontaneity during projects.
Transform Your Color Grading Workflow Today
Cinematic video LUTs have fundamentally shifted what's possible for editors working at any skill level. They're not magic bullets that eliminate the need for color grading knowledge, but they absolutely are the closest thing to professional-grade shortcuts that exist in modern video production. The real power comes when you stop treating LUTs as the final destination and start viewing them as your creative foundation. Layer them, adjust them, combine them with manual corrections, and build a personal library that genuinely reflects your artistic vision.
Whether you're producing vlogs, short films, commercials, or social media content, there's a cinematic LUT strategy that will elevate your work without compromising your creative control. The software compatibility is extensive, the visual impact is immediate, and the accessibility is genuinely democratic—no longer confined to expensive color grading suites or years of technical training.
Ready to transform your footage? Start by exploring curated LUT collections, test a few packs on your actual project footage, and discover which cinematic styles resonate with your creative identity.
Leave a Reply